Ubuntu 20にEclipse IDEをインストールしました。
これに追加でWindowBuilderもインストールしてみました。
参考サイト
WindowBuilder graphical Java GUI design tool for Eclipse
https://nyctomachia.wordpress.com/2016/06/12/windowbuilder-graphical-java-gui-design-tool-for-eclipse/
- Eclipse IDEの起動
- 新規ソフトウェアのインストール
- サイトの指定、追加
- WindowBuilderの選択
- インストールの詳細
- ライセンスの許諾
- Eclipse IDEの再起動
- WindowBuilderエディターの選択
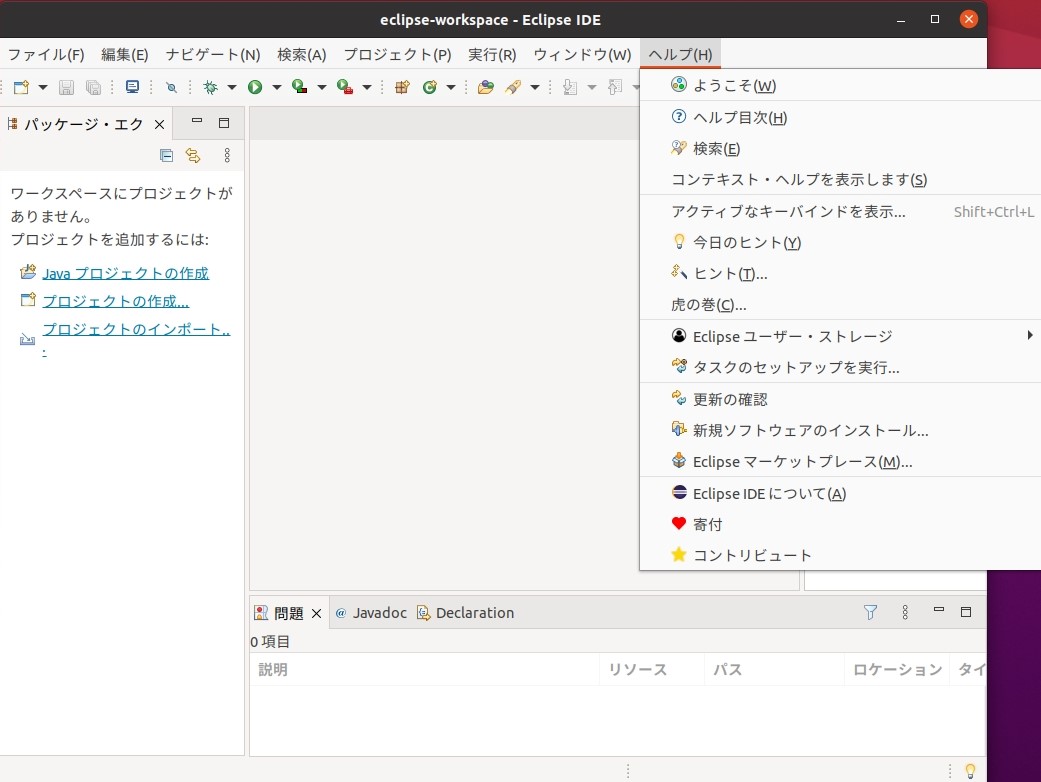
Eclipse IDEを起動します。
[ヘルプ]から[新規ソフトウェアのインストール]を選択します。
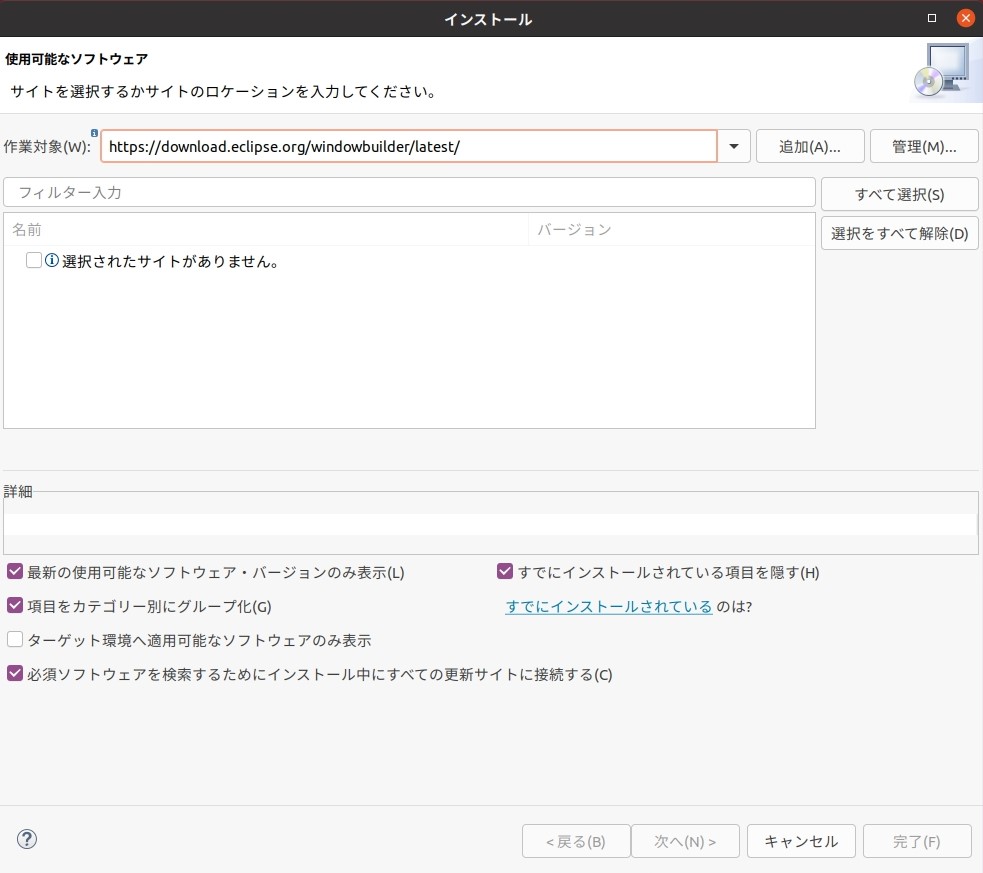
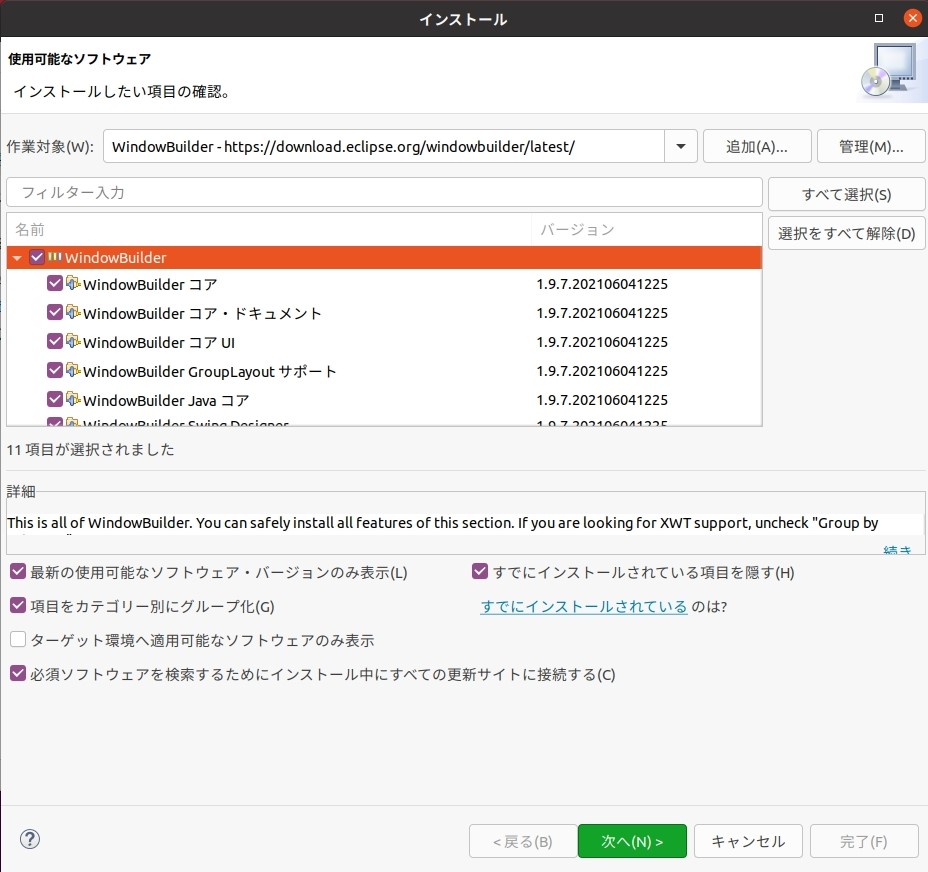
作業対象にWindowBuilderのダウンロードサイトを指定して追加します。
|
1 |
https://download.eclipse.org/windowbuilder/latest/ |

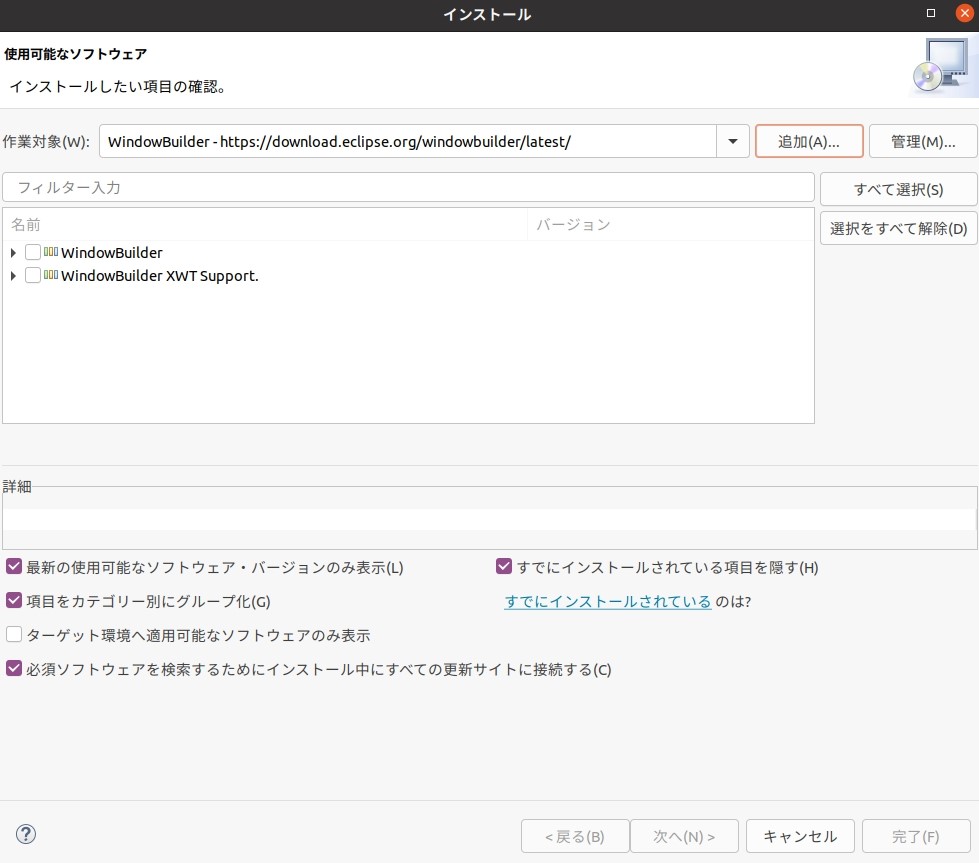
追加すると利用できるプログラムが表示されます。WindowBuilderを選択して[次へ]
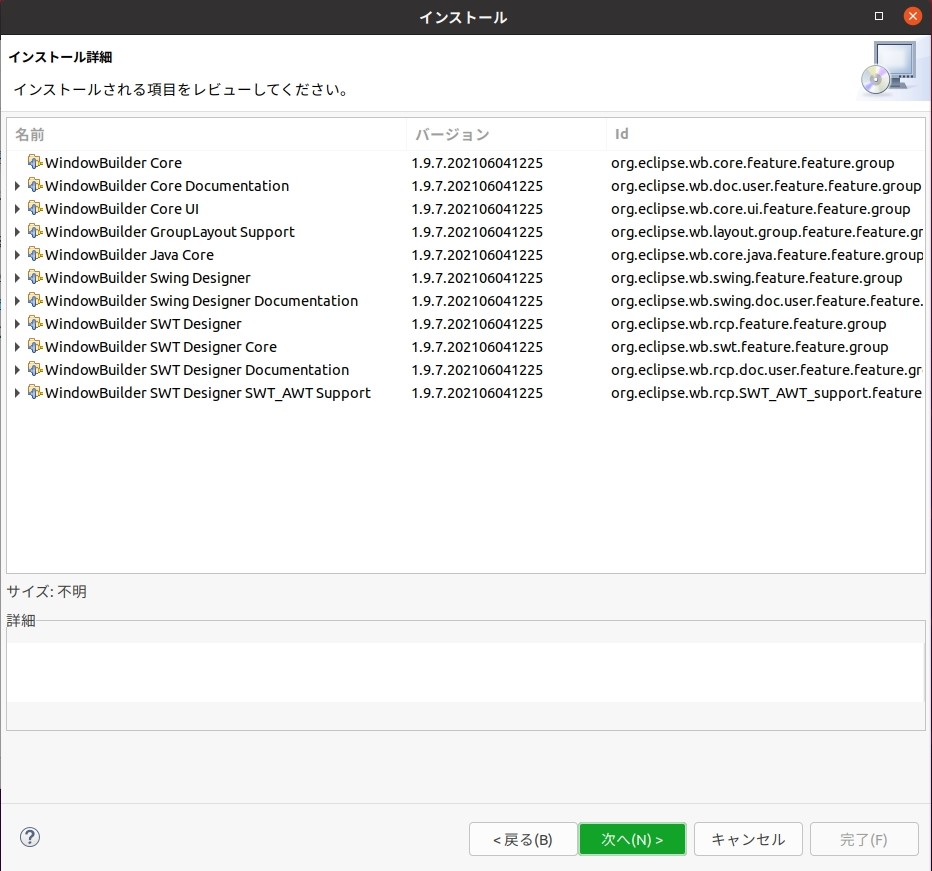
インストールされる項目が表示されます。
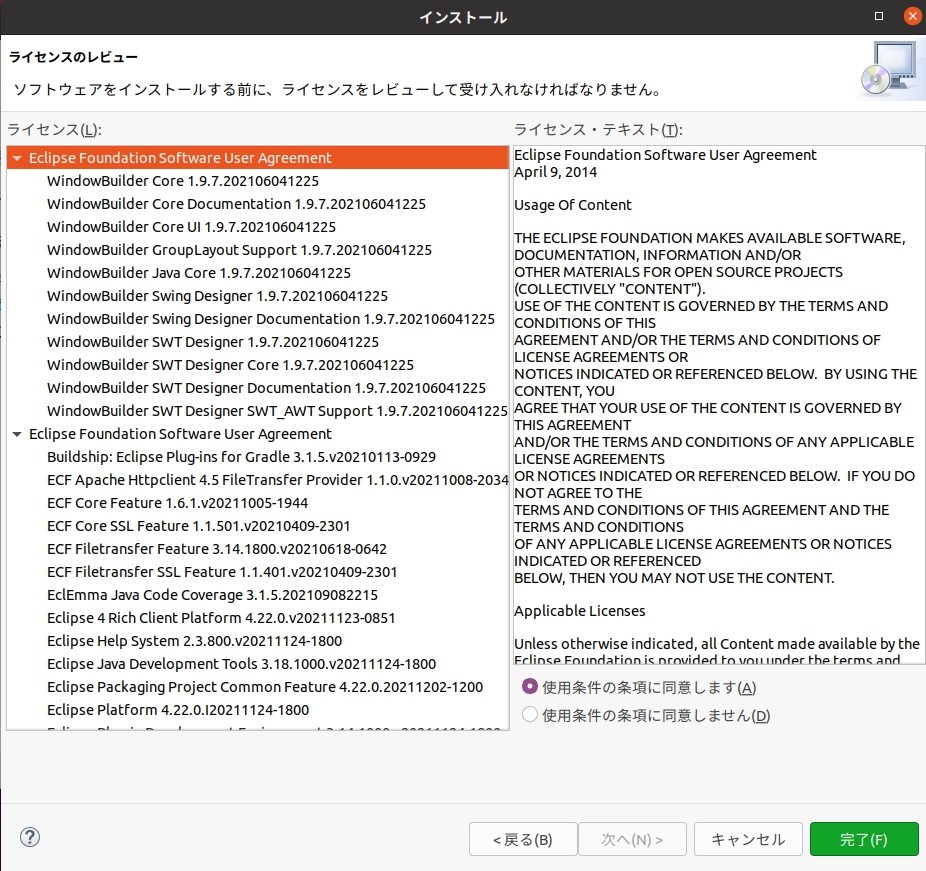
ライセンスが表示されます。同意して[完了]します。
インストールはバックグラウンドで行われ特に何も表示されません。
インストールが完了すると再起動要求のメッセージが表示されますので[今すぐ再起動]で再起動します。

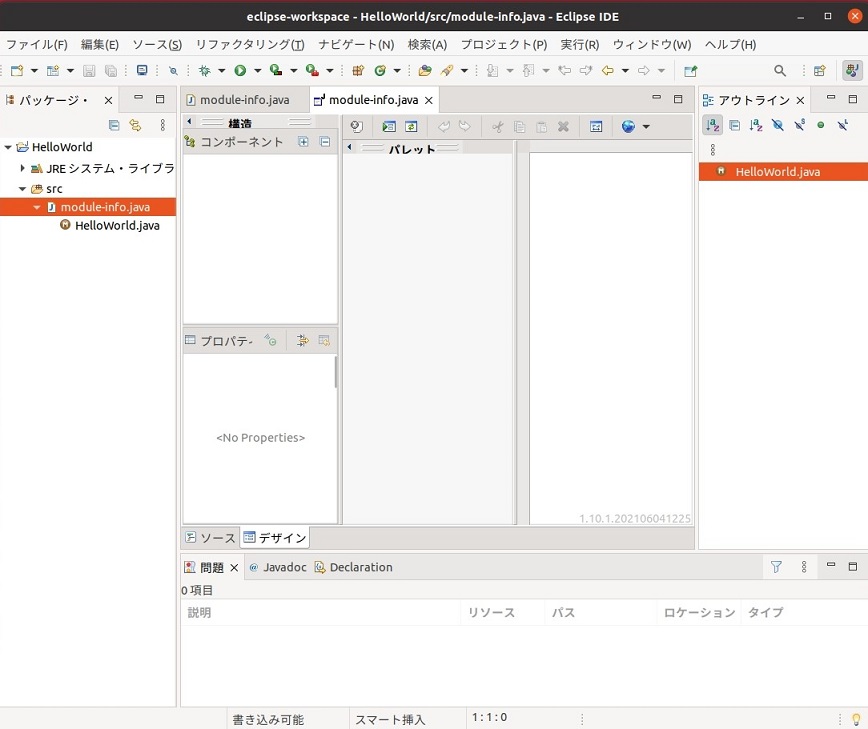
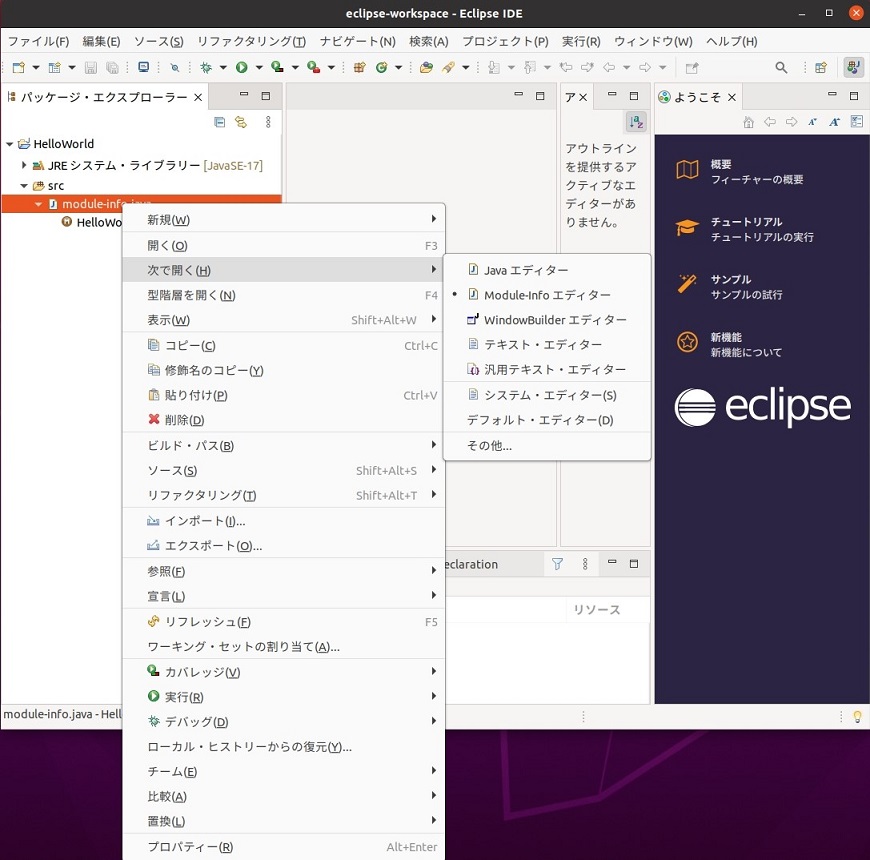
[次で開く]に[WindowBuilderエディター]が表示されています。
[デザイン]タブがあり目的のグラフィカルエディタビューが表示されます。