先日、Lenovo IdeaPad Duet Chromebook(Chrome OS)でLinuxを有効にしてみましたが、ターミナルは使いづらいので他のターミナルをインストールすることにしました。
参考
ChromebookにLinuxを入れてまともなターミナルを得る
https://okayu-moka.hatenablog.com/entry/2020/03/14/180000
幾つか試しましたが私もmate-terminalを使うことにしました。
インストールは簡単でaptコマンドを叩くだけです。
|
1 |
$ sudo apt -y install mate-terminal |
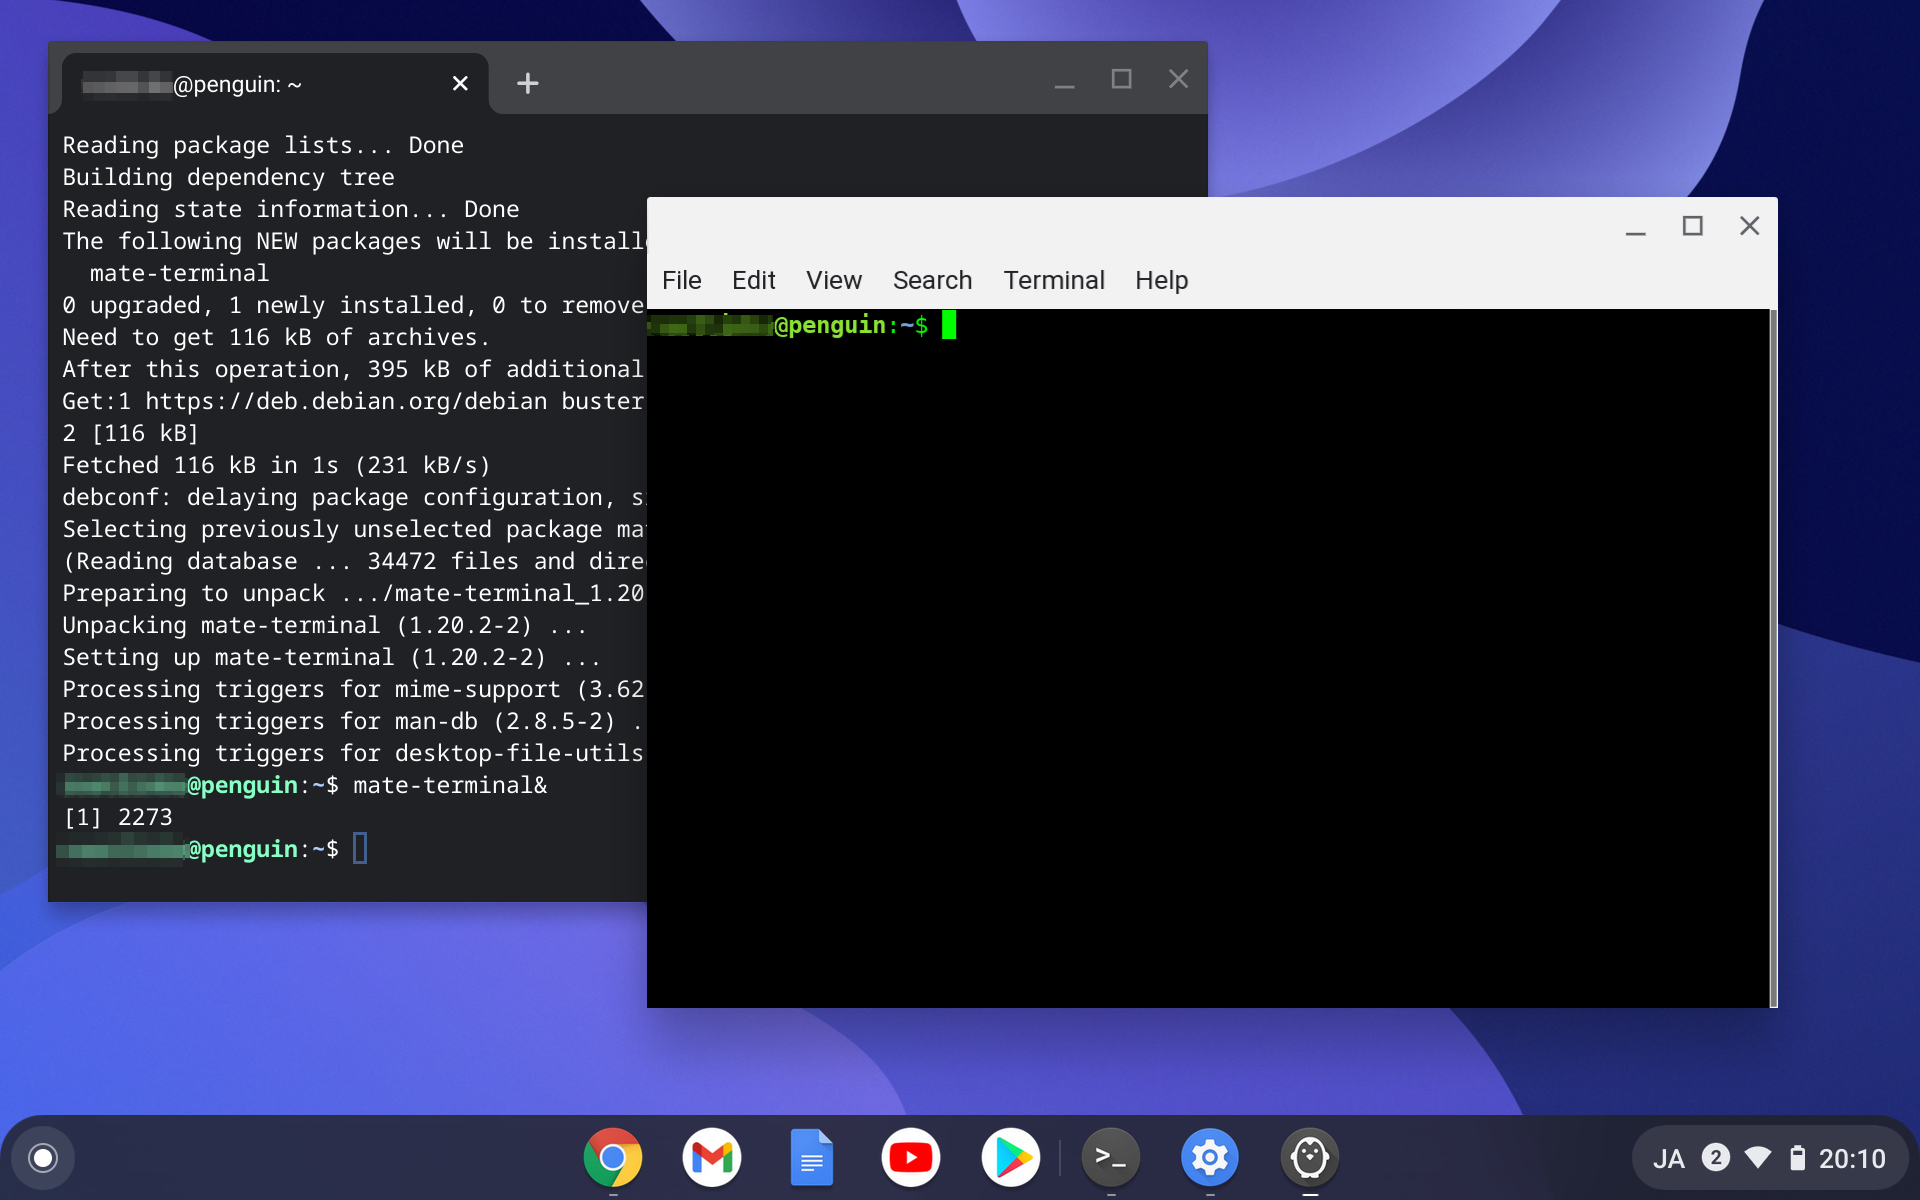
画像は標準ターミナルとmate-terminalです。
標準ターミナルでも設定変更できるのですが、私的に標準ターミナルの一番残念なのはスクロール行を設定できないことです。
標準ターミナルの設定方法は下記サイトを参考にしました。
Containers and VM support on Chrome OS
https://www.reddit.com/r/Crostini/wiki/getstarted/crostini-setup-guide
- croshの起動
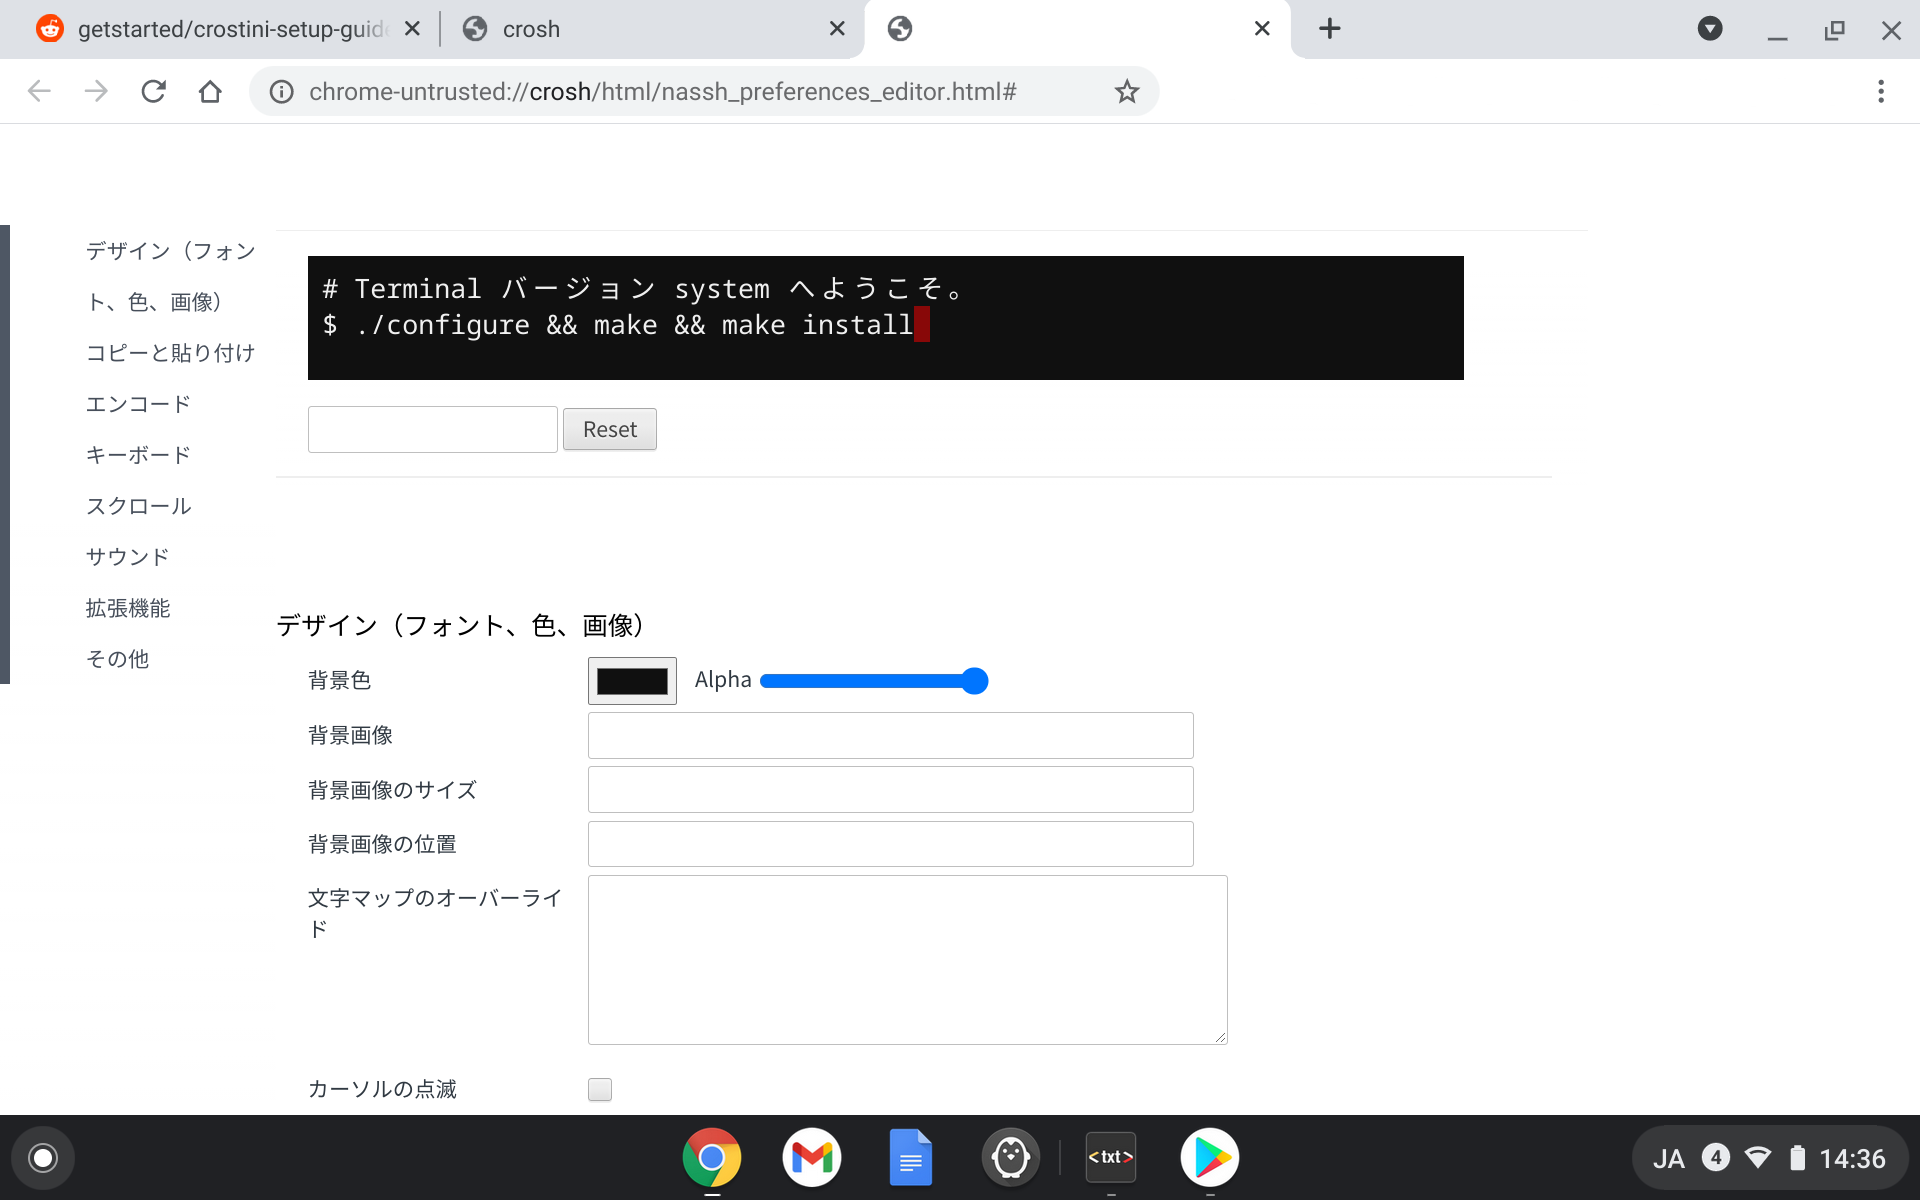
- ターミナルの設定
Chromeを表示してctrl+alt+tを押すとcroshが起動します。
又はchrome-untrusted://croshにアクセスするとcroshが起動します。
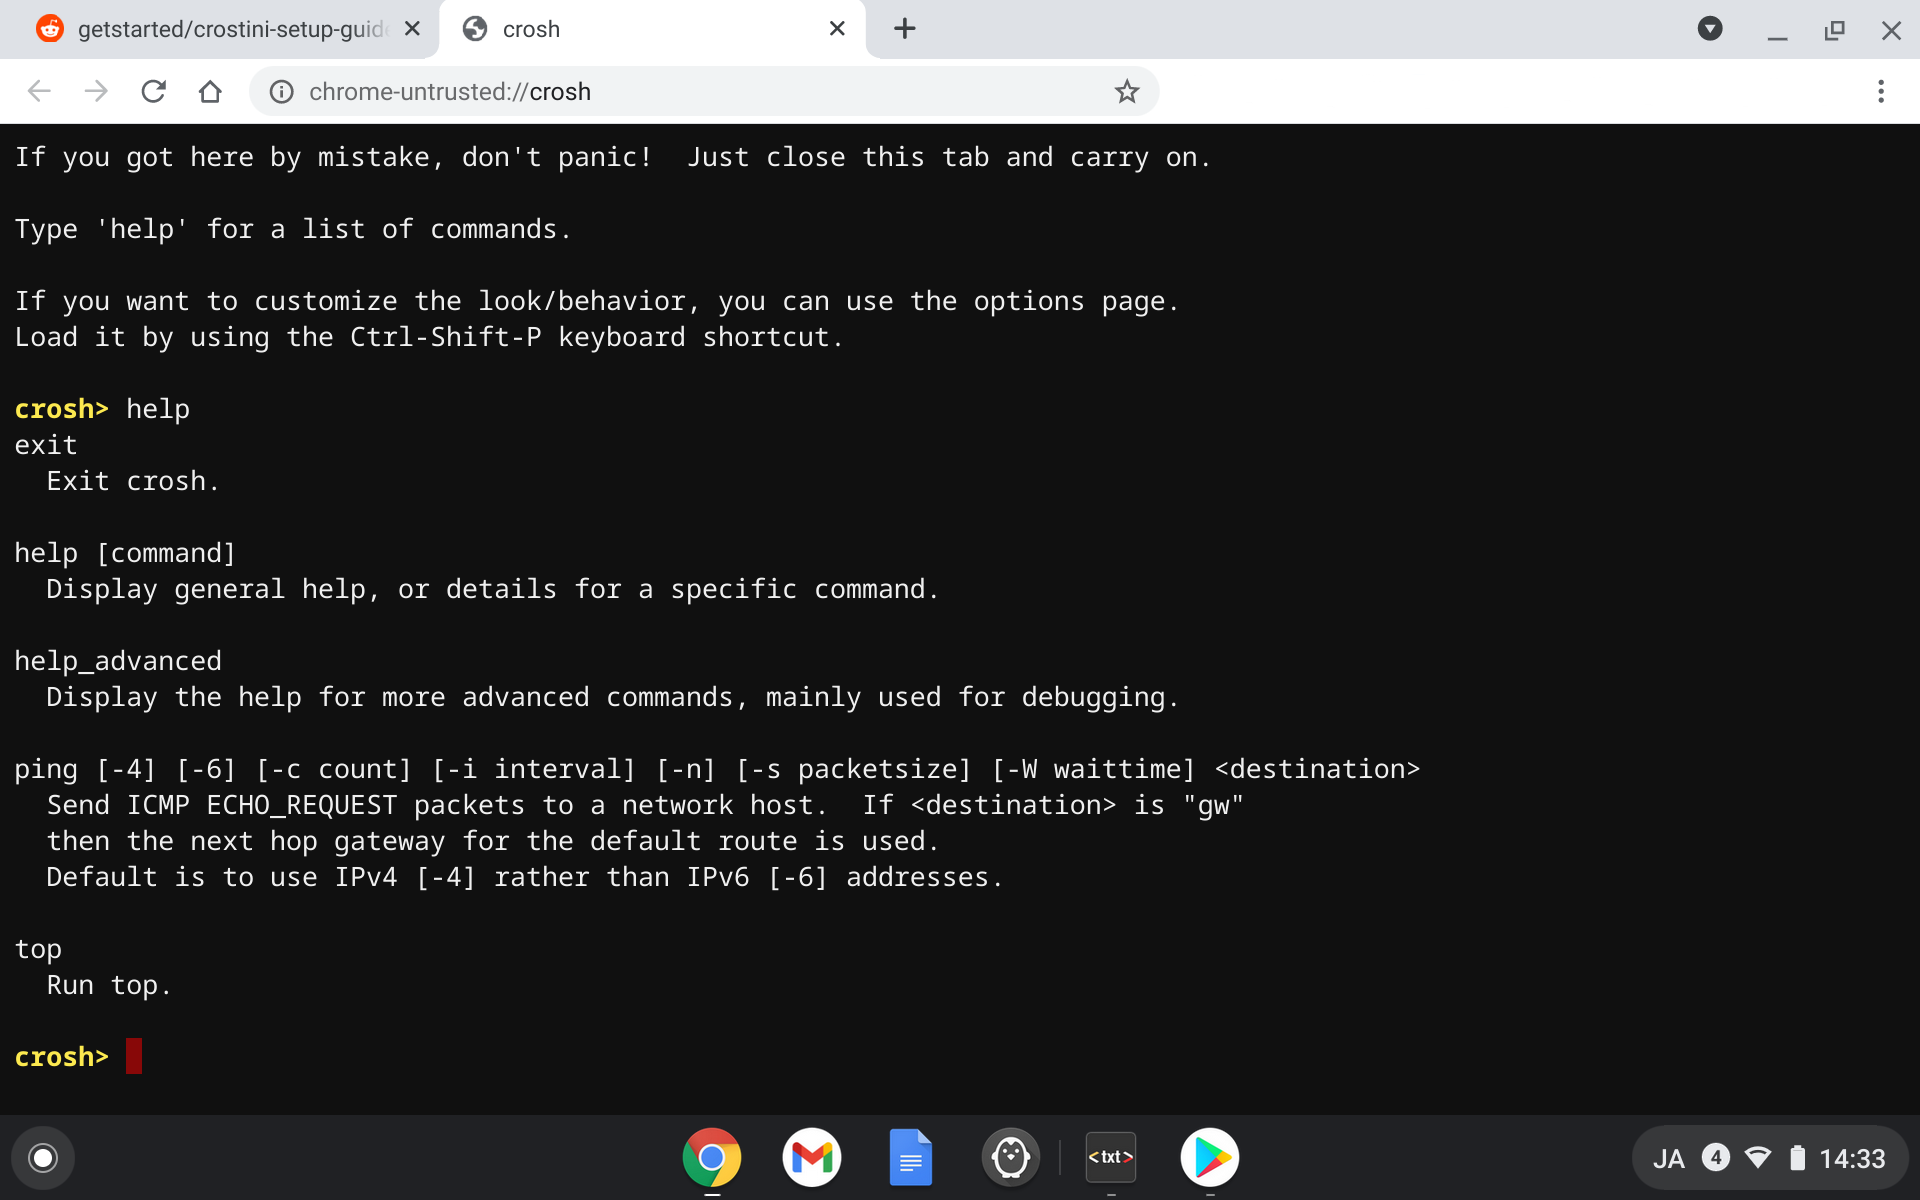
croshからCtrl+Shift+Pでターミナルの設定画面が開きます。
又は下記のURLにアクセスすれば設定画面が表示されます
chrome-untrusted://crosh/html/nassh_preferences_editor.html#
これ以外にも取り合えずいくつかインストールしてみました。
digが無かったのでdnsutilsを、そしてwhoisです。curlやwget,git,tarはありました。
|
1 2 |
$ sudo apt -y install dnsutils $ sudo apt -y install whois |
必要なプログラムはその都度aptコマンドでインストールします。もちろんパッケージがあればですが。
man apt
|
1 2 3 4 5 6 7 8 9 10 11 12 13 14 15 16 17 18 19 20 21 22 23 24 25 26 27 28 29 30 31 32 33 34 35 36 37 38 39 40 41 42 43 44 45 46 47 48 49 50 51 52 53 54 55 56 57 58 59 60 61 62 63 64 65 66 67 68 69 70 71 72 73 74 75 76 77 78 79 80 81 82 83 84 85 86 87 88 89 90 91 92 93 94 95 96 97 98 99 100 101 102 103 104 105 106 107 108 109 110 111 112 113 114 115 116 117 118 119 120 121 122 123 124 125 126 127 128 129 130 131 132 133 134 135 136 137 138 |
APT(8) APT APT(8) NAME apt - command-line interface SYNOPSIS apt [-h] [-o=config_string] [-c=config_file] [-t=target_release] [-a=architecture] {list | search | show | update | install pkg [{=pkg_version_number | /target_release}]... | remove pkg... | upgrade | full-upgrade | edit-sources | {-v | --version} | {-h | --help}} DESCRIPTION apt provides a high-level commandline interface for the package management system. It is intended as an end user interface and enables some options better suited for interactive usage by default compared to more specialized APT tools like apt-get(8) and apt-cache(8). Much like apt itself, its manpage is intended as an end user interface and as such only mentions the most used commands and options partly to not duplicate information in multiple places and partly to avoid overwhelming readers with a cornucopia of options and details. update (apt-get(8)) update is used to download package information from all configured sources. Other commands operate on this data to e.g. perform package upgrades or search in and display details about all packages available for installation. upgrade (apt-get(8)) upgrade is used to install available upgrades of all packages currently installed on the system from the sources configured via sources.list(5). New packages will be installed if required to satisfy dependencies, but existing packages will never be removed. If an upgrade for a package requires the removal of an installed package the upgrade for this package isn't performed. full-upgrade (apt-get(8)) full-upgrade performs the function of upgrade but will remove currently installed packages if this is needed to upgrade the system as a whole. install, reinstall, remove, purge (apt-get(8)) Performs the requested action on one or more packages specified via regex(7), glob(7) or exact match. The requested action can be overridden for specific packages by append a plus (+) to the package name to install this package or a minus (-) to remove it. A specific version of a package can be selected for installation by following the package name with an equals (=) and the version of the package to select. Alternatively the version from a specific release can be selected by following the package name with a forward slash (/) and codename (buster, bullseye, sid ...) or suite name (stable, testing, unstable). This will also select versions from this release for dependencies of this package if needed to satisfy the request. Removing a package removes all packaged data, but leaves usually small (modified) user configuration files behind, in case the remove was an accident. Just issuing an installation request for the accidentally removed package will restore its function as before in that case. On the other hand you can get rid of these leftovers by calling purge even on already removed packages. Note that this does not affect any data or configuration stored in your home directory. autoremove (apt-get(8)) autoremove is used to remove packages that were automatically installed to satisfy dependencies for other packages and are now no longer needed as dependencies changed or the package(s) needing them were removed in the meantime. You should check that the list does not include applications you have grown to like even though they were once installed just as a dependency of another package. You can mark such a package as manually installed by using apt-mark(8). Packages which you have installed explicitly via install are also never proposed for automatic removal. search (apt-cache(8)) search can be used to search for the given regex(7) term(s) in the list of available packages and display matches. This can e.g. be useful if you are looking for packages having a specific feature. If you are looking for a package including a specific file try apt- file(1). show (apt-cache(8)) Show information about the given package(s) including its dependencies, installation and download size, sources the package is available from, the description of the packages content and much more. It can e.g. be helpful to look at this information before allowing apt(8) to remove a package or while searching for new packages to install. list (work-in-progress) list is somewhat similar to dpkg-query --list in that it can display a list of packages satisfying certain criteria. It supports glob(7) patterns for matching package names as well as options to list installed (--installed), upgradeable (--upgradeable) or all available (--all-versions) versions. edit-sources (work-in-progress) edit-sources lets you edit your sources.list(5) files in your preferred texteditor while also providing basic sanity checks. SCRIPT USAGE AND DIFFERENCES FROM OTHER APT TOOLS The apt(8) commandline is designed as an end-user tool and it may change behavior between versions. While it tries not to break backward compatibility this is not guaranteed either if a change seems beneficial for interactive use. All features of apt(8) are available in dedicated APT tools like apt- get(8) and apt-cache(8) as well. apt(8) just changes the default value of some options (see apt.conf(5) and specifically the Binary scope). So you should prefer using these commands (potentially with some additional options enabled) in your scripts as they keep backward compatibility as much as possible. SEE ALSO apt-get(8), apt-cache(8), sources.list(5), apt.conf(5), apt-config(8), The APT User's guide in /usr/share/doc/apt-doc/, apt_preferences(5), the APT Howto. DIAGNOSTICS apt returns zero on normal operation, decimal 100 on error. BUGS APT bug page[1]. If you wish to report a bug in APT, please see /usr/share/doc/debian/bug-reporting.txt or the reportbug(1) command. AUTHOR APT team NOTES 1. APT bug page http://bugs.debian.org/src:apt APT 1.8.2.2 27 January 2019 APT(8) |